Garlic is a cherished plant not only for its medicinal properties but also for its ability to enhance the flavor of various dishes. While garlic can be planted in both autumn and spring, this guide focuses on spring garlic, which is known for its longer storage life and slightly lower yield compared to winter varieties. Here’s how to plant spring garlic correctly to ensure a successful harvest.
When to Plant Spring Garlic
Optimal Timing: Spring garlic should be planted when the soil temperature reaches around +5-7°C, typically in early to mid-April. Garlic roots develop best at temperatures between +4 to +10°C, which also promotes leaf growth. Delaying planting can negatively impact your harvest, as rising temperatures may halt plant development.
Selecting Garlic Varieties
Choose varieties adapted to your climate for the best results. Here are some popular spring garlic varieties:
- Gulliver: A mid-late variety known for its disease resistance and high yield. Heads can weigh between 95 to 115 grams, sometimes reaching up to 250 grams.
- Olenivskyi: Versatile and cold-resistant, this medium-ripening variety has heads weighing up to 35 grams and can be stored for up to two years with proper care.
- Sochinskyi 56: An early-ripening variety with strong disease resistance and heads covered in white scales, weighing up to 45 grams.
- Victorio: A medium-ripening variety with heads around 40 grams and storage potential of up to 8 months.
- Abrek: Medium-ripening with a sharp taste; heads typically weigh about 25 grams and last about 7 months.
- Yershovskyi: Semi-spicy, disease-resistant variety with heads up to 35 grams and a shelf life of around 7 months.
- Cledor: An elite French variety, medium-ripening and highly disease-resistant, with heads measuring 45 to 55 mm and containing 16 to 20 large cloves.
- Flavor: A medium-ripening French variety with 80 grams heads and 15 to 20 cloves arranged in two rows.
- Ukrainian White: High-yielding and versatile, this variety can be both winter and summer garlic, with heads weighing from 80 to 140 grams.
Preparing the Planting Site
- Soil Selection: Garlic thrives in sandy or loamy soils. Ensure the planting area is well-lit and shielded from the north wind. Avoid low-lying areas where water might accumulate.
- Soil Preparation: In autumn, dig the soil to a shovel’s depth, incorporating humus or compost, wood ash, and a complex mineral fertilizer. In spring, level the soil surface and disinfect it with a diluted hydrochloric acid solution (3 tablespoons per 10 liters of water).
- Crop Rotation: Grow garlic after cucumbers, cabbage, legumes, or herbs. Avoid planting it after carrots, potatoes, or other onions and garlic, as these can diminish the harvest quality.
Planting Garlic Cloves
- Clove Selection: Use large or medium-sized cloves. Separate them just before planting, but do not peel. Avoid cloves from bulbs with very few cloves, as they may affect crop quality.
- Pre-Planting Preparation: Disinfect cloves in a potassium permanganate or copper sulfate solution for 12 hours. You can also warm them to +40-42°C to speed up germination.
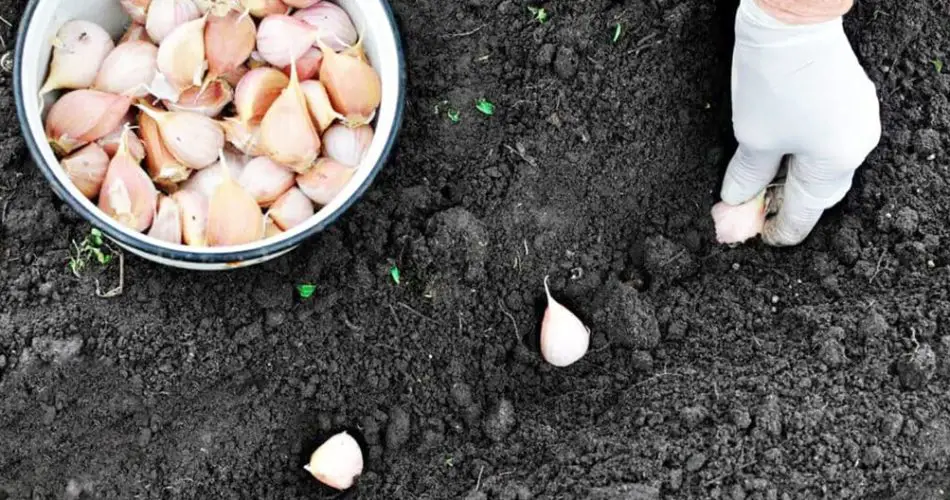
- Planting Process: Plant cloves in moist soil, spacing them 8-12 cm apart. Water well after planting. Garlic can withstand frost, so additional protection like film coverage is not required.
With the right timing, variety selection, and site preparation, your spring garlic will flourish and yield a bountiful harvest. By following these guidelines, you’ll enjoy a robust and flavorful crop, enhancing your garden’s productivity and your kitchen’s culinary delights.