Reviving Orchids: A Guide to Repotting After Purchase with Root Rot
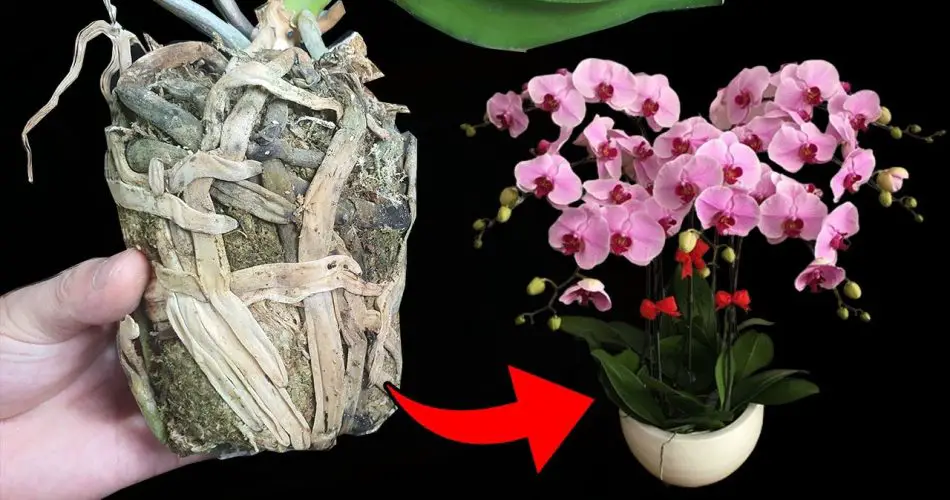
Orchids, renowned for their captivating beauty, can face challenges like root rot, especially after purchase. If you’ve noticed signs of root issues in your newly acquired orchid, don’t fret. With the right approach to repotting, you can revive your orchid and set the stage for healthy growth. Here’s a step-by-step guide for repotting an orchid suffering from root rot:
Identifying Root Rot Symptoms:
Before initiating the repotting process, it’s crucial to identify symptoms of root rot in your orchid. Common signs include mushy, discolored roots and a foul odor emanating from the potting medium.
Materials Needed:
- New Potting Medium: Choose a well-draining orchid mix or prepare a blend of bark, sphagnum moss, and perlite.
- Clean Tools: Use sterilized scissors or pruning shears to trim affected roots.
- New Pot: Select a new pot that accommodates the orchid’s roots with some room for growth.
- Bucket or Sink: Prepare a space for soaking the orchid and removing old potting medium.
Repotting Steps:
1. Remove Orchid from Pot:
- Gently remove the orchid from its pot, taking care not to cause further damage to the roots.
2. Examine and Trim Roots:
- Inspect the roots for signs of rot, discarding any mushy or discolored portions.
- Trim healthy roots to encourage new growth, ensuring each cut is clean and free from infection.
3. Soak Orchid Roots:
- Place the orchid’s roots in a bucket or sink filled with room-temperature water. Allow them to soak for about an hour to hydrate and soften.
4. Clean the Orchid:
- Carefully clean the orchid’s pseudobulbs and leaves to remove any debris or old potting mix.
5. Prepare New Pot:
- Add a layer of fresh orchid mix to the new pot, creating a suitable foundation for the orchid.
6. Reposition Orchid:
- Place the orchid in the new pot, spreading its roots evenly and allowing room for growth.
7. Fill with New Potting Mix:
- Add the new potting mix around the orchid’s roots, ensuring they are well-covered and stabilized.
8. Watering and Care:
- Water the repotted orchid thoroughly, allowing excess water to drain away.
- Place the orchid in a location with appropriate light conditions, avoiding direct sunlight initially.
Post-Repotting Care Tips:
- Monitor Moisture Levels: Keep the potting mix consistently moist but not waterlogged.
- Provide Indirect Light: Gradually reintroduce the orchid to its preferred light conditions to minimize stress.
- Avoid Fertilizing Immediately: Allow the orchid some time to adjust before resuming regular fertilization.
By following these repotting steps and providing post-repotting care, you give your orchid a chance to recover from root rot and thrive in its new environment. Remember, patience is key as your orchid adjusts to its revitalized home.