After successfully growing garlic, it’s crucial to prepare it correctly for long-term storage. Following these steps will help keep your harvest in good condition throughout the winter.
Steps for Garlic Storage
- Transfer After Digging: After digging up your garlic, place it in boxes with holes and position them in a shady area. This prevents moisture accumulation that can lead to rot.
- Allow Nutrients to Transfer: Avoid cutting the leaves immediately; nutrients continue to move from the leaves to the bulbs for a short time after digging. This process enhances the garlic’s storage quality.
- Drying Period: Let the garlic dry for about 3-4 weeks. This is essential for reducing moisture content and preventing decay.
- Trimming: Once dried, cut the stems and roots. Be cautious not to cut too close to the bulb to avoid damage.
- Final Drying: Leave the garlic in the shade for a few more days to ensure that the cut areas dry properly.
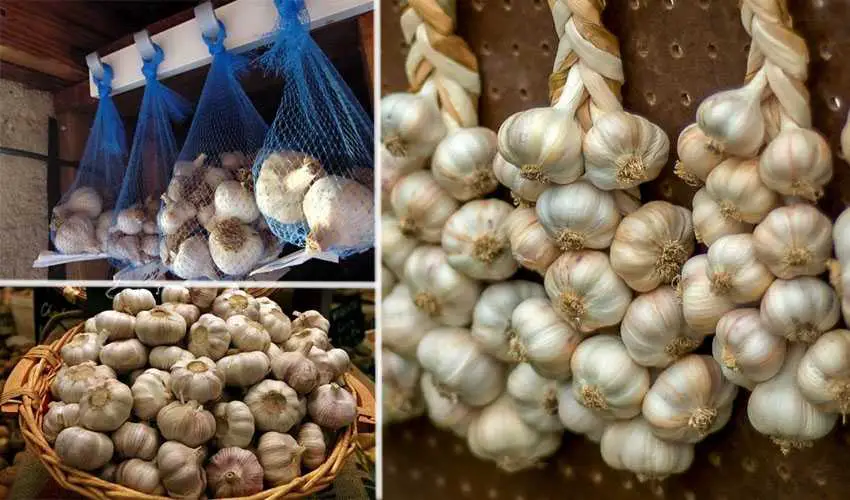
- Storage: After the final drying, transfer the garlic to paper bags. Store them in a cool place away from sunlight. This will help maintain freshness for an extended period.
Enjoy Your Fresh Garlic
By following these steps, you can ensure your garlic remains fresh and flavorful all winter long! Enjoy the benefits of your hard work with a bountiful supply of garlic for your cooking needs.
Show Comments