Are you looking to save money on purchasing pre-made soil for your plants? Preparing your own soil for planting is an economical and highly effective way to ensure your seedlings have the best growing conditions. In this article, we will show you how to prepare quality soil at home and explain the essential components needed for successful growth.
Why Prepare Your Own Soil for Planting?
Preparing your own soil not only saves you money, but it also allows you to customize the soil to meet the specific needs of your plants. With the right soil mix, you can provide your seedlings with the essential nutrients for optimal growth, helping them thrive.
Benefits of Preparing Soil Yourself:
- Cost Savings: You’ll save money that would otherwise go toward purchasing pre-made soil.
- Guaranteed Consistency: You know exactly what’s in the soil you use for planting.
- Customization: Tailor the soil to your plants’ needs, ensuring the right balance of nutrients.
What Makes Ideal Soil for Planting?
The best soil for seedlings comes from leafy forests or areas where legumes have previously grown. These types of soil tend to have a neutral acidity level, which is ideal for most plants. Be on the lookout for plant indicators of healthy soil, such as woodlice, horsetail, and sorrel, which thrive in nutrient-rich environments.
Avoid soil with high acidity—typically indicated by the presence of plants like nettles or sorrel—as this can affect seedling growth.
Step-by-Step Guide to Preparing Your Own Soil
1. Collecting the Soil
Begin by removing the top layer of weed growth with a rake and pruning shears. Once the weeds are cleared, dig the soil to a depth of about 30 cm, making sure to remove any large stones and roots that could hinder plant growth.
2. Creating the Ideal Soil Mix
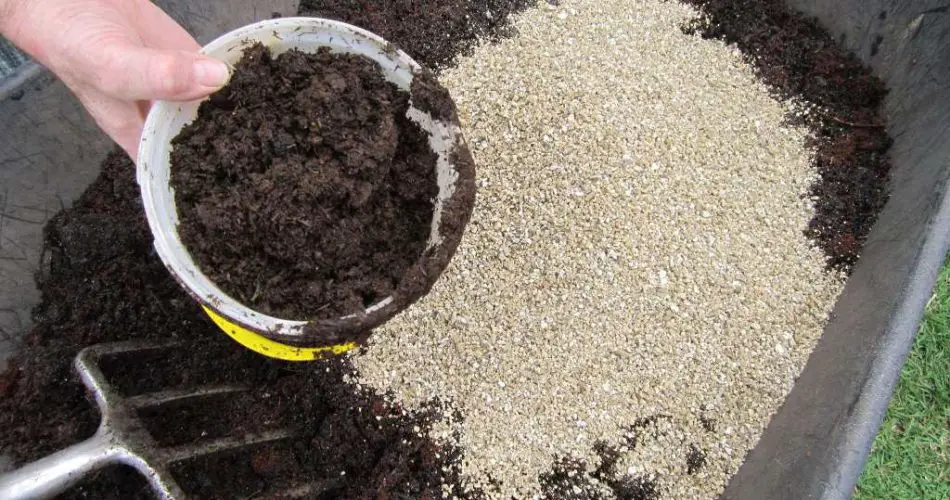
To ensure the soil is nutrient-rich and well-structured, mix the dug-up soil with the following components:
- 2 parts of the dug-up soil
- 1 part humus
- 1 part peat
- 1 part coarse sand
This mix will provide the soil with good structure and essential nutrients for optimal plant growth.
3. Sterilizing the Soil
To prevent harmful microorganisms from affecting your plants, it’s crucial to sterilize the soil. Place the prepared soil mixture into bags or containers in small portions, then store them in a cold place to freeze. Freezing will kill most harmful microbes.
After the first freezing, repeat the process a few more times to increase effectiveness. This extra step helps protect your plants from diseases and pests.
Why is Soil Preparation Crucial?
Preparing your own soil provides multiple advantages:
- Cost-Effective: By sourcing and mixing your own soil, you cut down on expenses.
- Quality Control: You control exactly what your plants are growing in, ensuring the ideal mix for them.
- Customizable: You can adjust the soil mix to suit your specific plant varieties and soil type.
While it may be labor-intensive, creating your own soil is a rewarding process that ensures the health of your plants and promotes strong, healthy growth.
Additional Tips for Soil Care:
- Spring Maintenance: Before planting roses or other delicate plants, add a mineral complex to enrich the soil.
- Storage: Store prepared soil in a cool, dry place to keep it fresh and free of contaminants.
- Experiment: Don’t hesitate to experiment with different additives, like biostimulants, to boost soil quality further.
Conclusion: A Successful Garden Starts with Healthy Soil
By following these simple steps, you can prepare high-quality soil that will provide your seedlings with everything they need to thrive. Remember, the right soil is a key factor in ensuring a bountiful harvest and healthy plants. With a little effort, you’ll create the perfect foundation for your garden’s success!