Cultivating petunia seedlings at home is a straightforward process, but attention to detail can greatly enhance your success. Follow this comprehensive guide to ensure healthy and vibrant petunias.
Stage 1: Selecting Petunia Seeds
Choosing high-quality seeds from a reputable source is crucial for growing healthy plants. Avoid impulsive purchases from unreliable online vendors and opt for seeds from trusted suppliers.
Petunia seeds are very small, so many gardeners prefer coated seeds, which are easier to handle. However, be aware that coated seeds might have issues dissolving if the moisture level is inadequate. The choice between regular and coated seeds depends on your preference and experience.
Stage 2: Choosing Planting Dates
Petunias typically bloom 10-12 weeks after sowing. To time the flowering correctly, plan your sowing based on when you want the flowers to appear. Start sowing in mid-winter if you have additional lighting. Otherwise, wait until early to mid-spring for natural daylight conditions.
Stage 3: Preparing Seeds for Sowing
Proper preparation of soil and containers is essential:
- Use shallow trays filled with well-sifted soil.
- Add drainage material like expanded clay.
- Fill containers 2/3 full with soil.
For soil, you can choose from various options:
- A seed-starting mix
- A combination of soil and hydrogel
- A blend of humus, turf, peat, and sand
Select the soil mix that best suits your conditions.
Stage 4: Sowing Petunia Seeds
- Prepare the Soil: Disinfect the soil by pouring boiling water over it or roasting it in the oven. You can also treat the soil with a weak potassium permanganate solution.
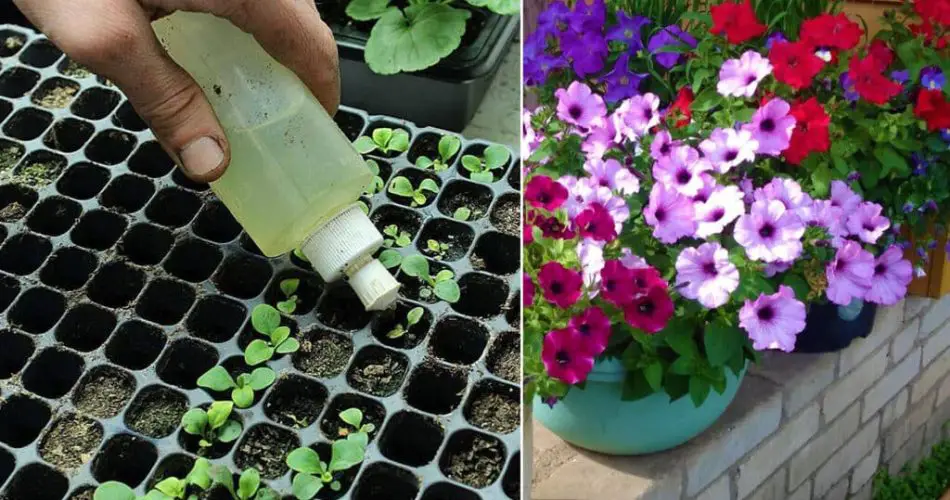
- Sow the Seeds: Place seeds on the soil surface using fine tweezers or a toothpick. Do not bury the seeds. If using coated seeds, mist them with water to help dissolve the coating.
- Create a Greenhouse Effect: Cover the containers with clear plastic or glass to maintain moisture and warmth. Turn the glass daily to prevent condensation and ventilate the seedlings.
- Alternative Method: Use soaked peat tablets for sowing. Place seeds on the tablets and cover them with a transparent lid.
Expect germination within 3-4 days, though older seeds might take up to 10 days.
Stage 5: Caring for Petunia Seedlings
- Light Requirements: Provide bright light for seedling growth. Initially, use continuous lighting, then switch to 11-12 hours of light daily. Use supplemental lighting if necessary, or move seedlings to a better-lit location if the light is too intense.
- Temperature: Maintain a temperature of 22-25°C. After seedlings appear, lower the temperature slightly to help them harden.
- Watering: Avoid overwatering or underwatering. During the first week, lightly spray the soil 1-2 times daily with a weak potassium permanganate solution. Transition to daily watering as seedlings grow.
- Feeding: If seedlings appear weak, use a growth stimulant. After 6-7 days, start feeding with diluted mineral fertilizers, waiting at least 10 days after germination.
Stage 6: Transplanting Petunia Seedlings
Transplant seedlings when they have 2-3 true leaves (not cotyledons), usually 3-4 weeks after sowing.
- Prepare Containers: Use separate pots with drainage holes.
- Transplanting: Carefully remove seedlings with a wooden stick or spoon and place them in new pots with prepared soil. Ensure cotyledons remain above soil level.
After 1.5-2 weeks, begin hardening off the plants by gradually exposing them to lower temperatures. Feed them with a balanced fertilizer every 14 days.
Stage 7: Pinching Petunias
Pinching helps shape the plant. When seedlings have 3-4 pairs of true leaves, pinch off the top of the central shoot. This encourages the growth of side shoots and makes the plant bushier. Repeat pinching every couple of weeks to promote more shoots and flowers.
Stage 8: Planting Petunia Seedlings Outdoors
Harden seedlings before planting them outside.
- Timing: In moderate climates, plant 12-14 weeks after sowing, typically in late May to early June.
- Site Selection: Choose a sunny spot with fertile, loamy soil. Prepare the soil with fertilizer.
- Planting: Plant in the evening or on cloudy days to minimize sun stress. Space plants 20 cm apart for small-flowered varieties and 30 cm for trailing varieties. Ensure planting holes are at least 10 cm deep.
- Post-Planting Care: Water plants well before transferring them to the garden. Mulch around plants with humus or peat and protect them from direct sunlight for the first few days.
By following these steps, you can successfully grow petunia seedlings at home and enjoy a vibrant display of flowers.